Introduction to High-Performance Gaming PC Construction
Building a high-performance gaming PC represents one of the most rewarding experiences for any gaming enthusiast. Unlike pre-built systems, custom-built gaming computers offer unparalleled flexibility, superior performance optimization, and significant cost savings. This comprehensive guide will walk you through every step of creating your dream gaming machine, from component selection to final assembly and optimization.
Whether you're a first-time builder or an experienced enthusiast looking to upgrade, understanding the fundamentals of PC components and their interactions is crucial for achieving optimal gaming performance. The process may seem daunting initially, but with proper guidance and careful planning, anyone can assemble a powerful gaming rig that delivers exceptional frame rates and stunning visual fidelity.
Essential Components for Your Gaming PC
Central Processing Unit (CPU)
The CPU serves as the brain of your gaming PC, handling all computational tasks and game logic. For modern gaming, we recommend processors from Intel's Core i7/i9 series or AMD's Ryzen 7/9 series. Consider factors like core count, clock speed, and thermal design power when selecting your CPU. Higher core counts benefit multitasking and streaming, while faster clock speeds improve single-threaded performance crucial for many games.
Graphics Processing Unit (GPU)
Your graphics card is arguably the most critical component for gaming performance. NVIDIA's RTX 30/40 series and AMD's RX 6000/7000 series offer excellent options across various price points. When choosing a GPU, consider your target resolution and refresh rate – 1080p gaming requires less graphical power than 1440p or 4K gaming. VRAM capacity also plays a significant role in handling high-resolution textures.
Motherboard Selection
The motherboard acts as the foundation connecting all your components. Ensure compatibility with your chosen CPU socket (LGA 1700 for Intel, AM5 for AMD Ryzen 7000). Key considerations include chipset features, expansion slots, connectivity options, and VRM quality for stable power delivery. Mid-range boards often provide the best value for gaming builds.
Memory (RAM)
For modern gaming, 16GB of DDR4 or DDR5 RAM represents the sweet spot, though 32GB provides future-proofing for demanding titles and multitasking. Pay attention to memory speed and timings, as these can impact performance in CPU-bound scenarios. Dual-channel configurations offer better performance than single-channel setups.
Storage Solutions
NVMe SSDs have become the standard for gaming due to their exceptional load times. A 1TB NVMe SSD provides ample space for your operating system and favorite games, while additional SATA SSDs or HDDs can store less frequently accessed data. Consider PCIe 4.0 or 5.0 SSDs for maximum performance if your motherboard supports them.
Power Supply Unit (PSU)
Never compromise on your power supply – it's the heart of your system's stability. Calculate your total power requirements and add 20-30% headroom for future upgrades. Look for 80 Plus Bronze certification or higher from reputable brands. Modular PSUs simplify cable management and improve airflow.
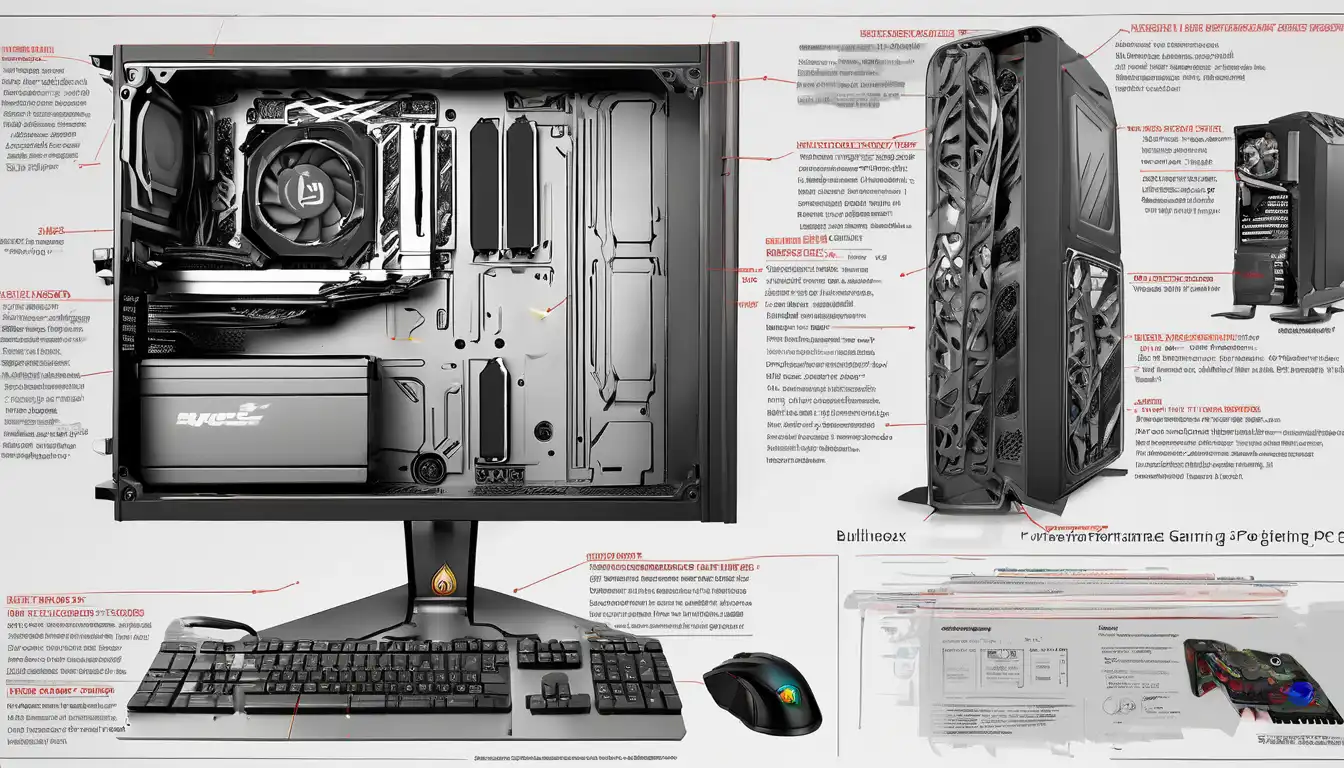
Case and Cooling
Your case choice affects both aesthetics and thermals. Look for models with good airflow, dust filters, and cable management features. For cooling, air coolers offer excellent value, while all-in-one liquid coolers provide superior thermal performance for overclocked systems. Proper case fan configuration ensures optimal airflow.
Step-by-Step Assembly Guide
Preparation and Safety
Before beginning assembly, gather all necessary tools including Phillips head screwdrivers, anti-static wrist strap, and cable ties. Work in a clean, well-lit area and frequently ground yourself to prevent electrostatic discharge damage to components. Read all component manuals thoroughly before installation.
Motherboard Preparation
Install the CPU, RAM, and M.2 SSD onto the motherboard before mounting it in the case. Apply thermal paste carefully if using an aftermarket cooler. Handle components by their edges and avoid touching gold contacts or pins. Ensure all components click securely into place.
Case Preparation and Component Installation
Install the PSU, route necessary cables, and mount the motherboard into the case. Install storage drives in designated bays and connect power and data cables. Mount the GPU in the primary PCIe x16 slot, ensuring it clicks into place. Proper cable management improves airflow and aesthetics.
Connecting Front Panel and Peripherals
Connect front panel connectors including power switch, reset switch, USB ports, and audio jacks according to your motherboard manual. Connect display cables, keyboard, and mouse. Double-check all power connections before applying power.
System Configuration and Optimization
BIOS/UEFI Setup
Upon first boot, enter the BIOS/UEFI to configure settings. Enable XMP/DOCP for RAM running at advertised speeds. Set boot priority to your installation media. Update BIOS to the latest version for improved stability and compatibility.
Operating System Installation
Install your preferred operating system (Windows 10/11 recommended for gaming). Create installation media using Microsoft's Media Creation Tool. During installation, format your primary SSD and allocate space appropriately.
Driver Installation and Updates
Install latest chipset, GPU, audio, and network drivers from manufacturer websites. Use tools like NVIDIA GeForce Experience or AMD Adrenalin for graphics driver updates. Keep all drivers updated for optimal performance and security.
Performance Optimization
Configure Windows for performance by adjusting power plans to High Performance. Disable unnecessary startup programs and visual effects. Use gaming mode features and ensure game bar recording is disabled unless needed. Monitor temperatures and performance using tools like MSI Afterburner or HWInfo.
Troubleshooting Common Issues
If your system fails to POST, check all power connections and ensure RAM is properly seated. No display output often indicates GPU installation issues or monitor connection problems. Overheating may require reapplying thermal paste or improving case airflow. System instability could stem from insufficient power supply or driver conflicts.
Future Upgrades and Maintenance
Regular maintenance includes dust cleaning every 3-6 months and monitoring component temperatures. Future upgrades might include additional RAM, storage expansion, or GPU replacement. Keep your system updated with the latest drivers and security patches for optimal performance and protection.
Conclusion
Building a high-performance gaming PC is an achievable goal that offers tremendous satisfaction and customization possibilities. By carefully selecting compatible components and following proper assembly procedures, you can create a system tailored to your specific gaming needs and budget. Remember that the PC building community offers extensive resources and support – don't hesitate to consult forums and guides when encountering challenges.
Your newly built gaming PC will provide years of entertainment and can be easily upgraded as technology advances. The knowledge gained through this process empowers you to maintain and enhance your system, ensuring it continues to deliver exceptional gaming experiences. Welcome to the world of custom PC building – where performance meets personalization!